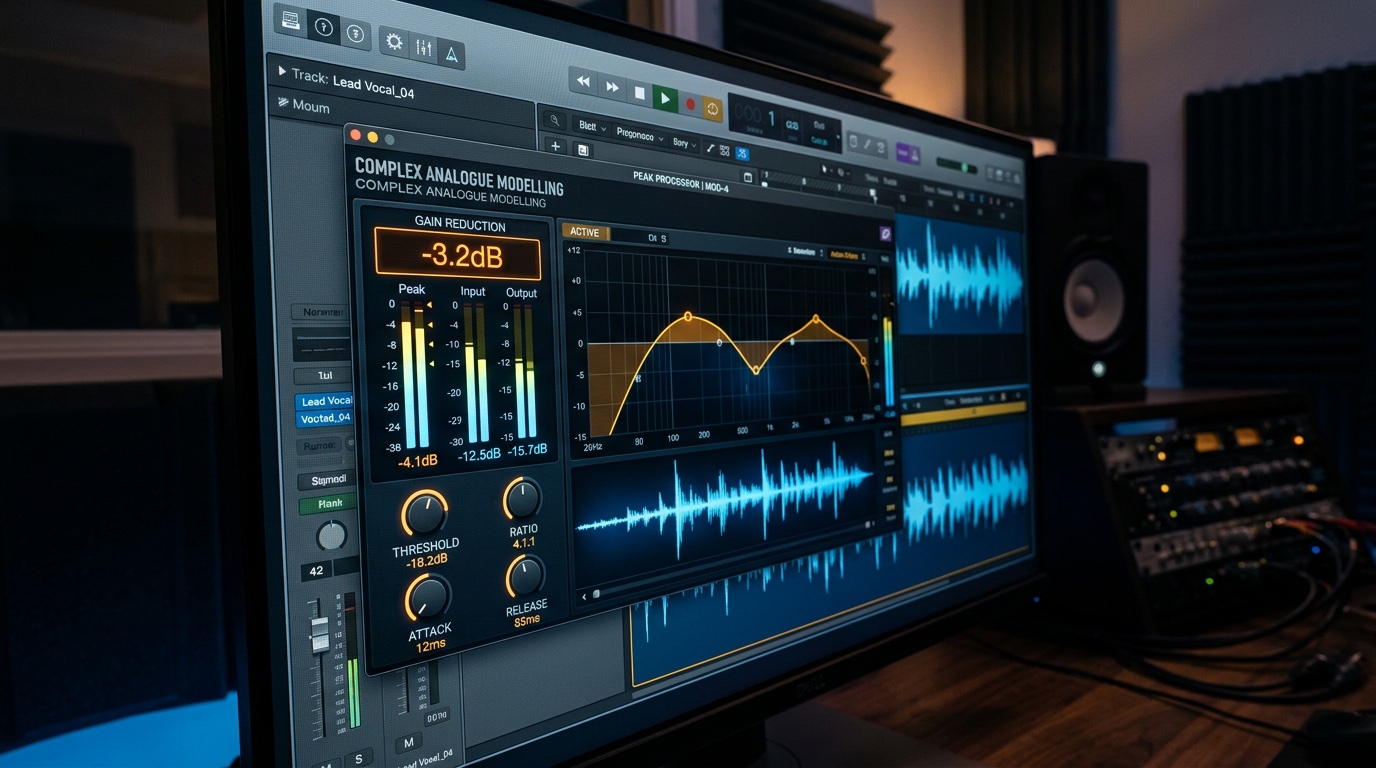
How to Document Plug-ins, Presets and Signal Chains in a DAW
This article explains why documenting plug-ins, presets, and signal chains in a DAW is essential for modern music production. As sessions become more complex, it’s easy to forget why certain processing choices were made, making it difficult to revisit or revise projects later. The guide highlights the importance of recording not just what plug-ins were used, but also their purpose, preset choices, signal chain order, and any changes made during production. It also stresses the value of tracking bus processing, mix bus settings, and whether tracks were frozen, bounced, or exported. By keeping clear, structured notes, producers can better understand their creative decisions, recreate sounds more easily, and maintain consistency across projects. The article also introduces The Signal Ledger, a dedicated log book designed to help musicians systematically document every aspect of their DAW workflow. Overall, the key takeaway is simple: good production isn’t just about what you hear - it’s about keeping a clear record of how you got there.
A modern DAW session can become complicated very quickly.
What begins as a simple idea may soon contain virtual instruments, sample libraries, EQs, compressors, reverbs, delays, saturation tools, vocal chains, buses, automation and mix bus processing. Every decision affects the final sound, but not every decision is easy to remember later.
That is why documenting your plug-ins, presets and signal chains is one of the most useful habits a music producer, engineer or songwriter can develop.
Good documentation helps you reopen old projects with confidence, recreate sounds, troubleshoot mix problems, prepare revisions and understand exactly how a track was built.
Why Plug-in Notes Matter
Your DAW will usually save the plug-ins inside a project, but that does not always give you the full picture.
A saved session may show which plug-ins were loaded, but it may not clearly explain:
- why a plug-in was used
- which preset started the sound
- what settings were changed
- whether the plug-in was printed, frozen or bypassed
- whether it was used creatively or correctively
- how it interacted with other parts of the signal chain
This becomes especially important when software changes. Plug-ins can be updated, replaced, moved, renamed or removed. Presets can be edited or lost. Sample libraries can change location. A session that made perfect sense six months ago can become difficult to understand if there are no written notes.
A simple plug-in record gives you a reliable reference beyond the DAW file itself.
Start With the Instrument Source
Before documenting effects, start with the sound source.
For each important instrument or sound, note:
- instrument type
- plug-in or virtual instrument used
- version number
- preset name
- sample library
- important performance notes
- whether the sound was layered, bounced or replaced
For example, instead of writing only “bass,” write something more useful:
Bass — Round Bass VST — Fingers Warm preset — main bass line, slightly shortened notes in chorus.
That kind of note gives you both the technical and creative context.
It tells you what the sound was, where it came from, and how it behaved in the arrangement.
Record the Signal Chain in Order
Signal chains should always be documented in order.
The order matters because audio processing is cumulative. An EQ before compression behaves differently from an EQ after compression. Saturation before a limiter has a different effect than saturation after a limiter. A de-esser placed before a compressor may react differently from one placed after it.
For any important track, vocal, bus or mix chain, write the processing order from top to bottom.
A basic vocal chain might look like this:
- Noise gate
- Corrective EQ
- Compressor
- De-esser
- Tonal EQ
- Saturation
- Reverb send
- Delay send
- Output trim
You do not need to write every tiny setting, but you should capture enough information to understand the purpose of the chain.
Note the Purpose of Each Plug-in
One of the most useful things you can write down is why each plug-in was used.
For example:
- EQ — remove low-mid muddiness
- Compressor — control louder syllables
- De-esser — soften harsh “s” sounds
- Saturation — add warmth and density
- Reverb — place vocal in a small room
- Delay — add throws at the end of phrases
- Limiter — reference loudness only, not printed
This is often more helpful than writing a long list of settings. When you understand the reason behind the processing, you can recreate the intention even if the exact plug-in changes later.
Keep Preset Names Clear
Presets are easy to overlook, but they are often the starting point for a sound.
Always write down the preset name if one was used. If you changed it significantly, note that too.
Examples:
Warm Plate — shortened decay slightly Soft Studio Kit — changed snare level Muted Strum — lowered velocity on chorus chords Gentle Vocal Control — adjusted threshold for softer compression
This is useful because preset names alone do not always explain the final result. A short adjustment note can make the difference between vague recall and useful recall.
Document Bus Processing
Buses are where many mixes take shape.
Drum buses, bass buses, guitar buses, vocal buses, backing vocal buses, FX buses and sub mix buses all help organise a session and shape the final sound.
For each important bus, document:
- bus name
- tracks feeding the bus
- plug-ins used
- processing order
- purpose of the bus
- any important gain staging notes
A drum bus note might say:
Drum Bus — corrective EQ, bus compressor, tape saturation, clipper. Compression kept subtle; saturation added weight without changing transient attack too much.
That kind of note gives you a clear idea of what the bus was doing.
Do Not Forget the Mix Bus
The mix bus or master bus is one of the most important places to keep notes.
This is where final tonal shaping, compression, saturation, stereo checks, metering and reference limiting may happen. It is also where you need to be careful not to confuse a loud reference bounce with the final clean mix print.
Useful mix bus notes include:
- mix bus name
- plug-in chain
- peak level before processing
- peak level after processing
- bus compression settings
- EQ and tonal shaping
- saturation or colour
- limiter use
- loudness / LUFS reference
- true peak reading
- final mix print name
- export format
- sample rate and bit depth
If a limiter is only used for checking loudness, write that clearly. This helps prevent accidentally printing the wrong version.
Track What Was Printed, Frozen or Exported
In a DAW workflow, not everything stays live forever.
You may freeze CPU-heavy instruments, bounce MIDI parts to audio, print effects, export stems or create reference mixes. These choices should be documented.
Useful notes include:
- frozen tracks
- printed instruments
- bounced audio versions
- exported stems
- reference bounces
- final WAV or MP3 exports
- file locations
- approved mix version
This is especially important if you return to a project later and wonder why a track no longer has an active instrument or plug-in chain.
Keep Notes Simple and Repeatable
Good session notes do not need to be complicated. The best system is one you will actually use.
A simple repeatable structure is better than a huge technical document that becomes too time-consuming to maintain.
For each main sound or chain, try to capture:
What was used? Where was it placed in the chain? Why was it used? Was anything printed, frozen, bounced or exported?
That is enough to make your session easier to recall and easier to manage.
Use The Signal Ledger
This is exactly why we created The Signal Ledger: Studio & DAW Recording Log Book.
The Signal Ledger gives producers, engineers, songwriters, beatmakers and independent musicians a structured way to document their DAW sessions properly.
Inside the book, you can track:
- VST instruments
- preset names
- plug-in versions
- physical instruments
- microphone recording chains
- vocal microphones and vocal treatment
- FX plug-ins
- outboard shaping tools
- drum, bass, guitar, vocal and FX buses
- mix bus and master bus chains
- gain staging and headroom
- final mix prints
- stems, backups and export locations
It includes 20 complete project logs, extra continuation pages and a completed demo project to show how the ledger can be used in a real recording workflow.
If you want a clearer, more professional way to document your plug-ins, presets, signal chains and final mix decisions, The Signal Ledger is available now on Amazon.
Final Thought
A DAW session is more than a collection of tracks. It is a record of decisions.
When you document plug-ins, presets and signal chains properly, you protect those decisions. You make your work easier to recall, easier to revise and easier to improve.
Good notes are not busywork. They are part of a serious production workflow.
Keep records on everything you do. Everything.